Never regretted but felt very happy indeed for attending Julie Van Oosten's classes for 2 consecutive days, each day creating a different project. Wow!! scroll down and have a peek on what I have created, 2 lovely and gorgeous pieces, A Triple Fold Frame and A Triple Layered Tile Frame. Both creations really blown me away !!
Initially I thought it would not be easy to get them done but phew..! I 've got the 2 pieces up and they were not that difficult after all, yeah !!
Allow me to present my creations, both in White Vintage theme....
TRIPLE FOLD FRAME.....
What do you think, pretty ya? Everything was constructed from scratch, plain card boards painted with fabulous damask texture techniques or covered with beautiful pattern paper, edges sanded, inked and distressed to give the vintage style. Transparency fitted to both side frames creating a see thru effect, simply stunning!!
Frame A, a real sweetie - looked at the double hearts, one covered with writing paper while the smaller heart is covered with a coffee stained muslin. Embellishments like a beaded pin, lace and words are added. Come to think of it, the whole piece was very easy to create. Give it a try and you'll agree with me.
Frame B had more to do and here I picked up 2 new techniques - damask textured stamping all around the sides of the frame and Dry brush painting on the Angel's wings. Putting together the chipboard mannequin and the angel wings, the top and bottom plaques were rather tedious but once fixed, felt a sense of achievement.
The beautiful pattern papers, the antique linen distress ink and the sanded edges, produced a shabby chic and vintage effect. I am loving it a lot every time I view them.
Creating layers after layers.......the layering technique
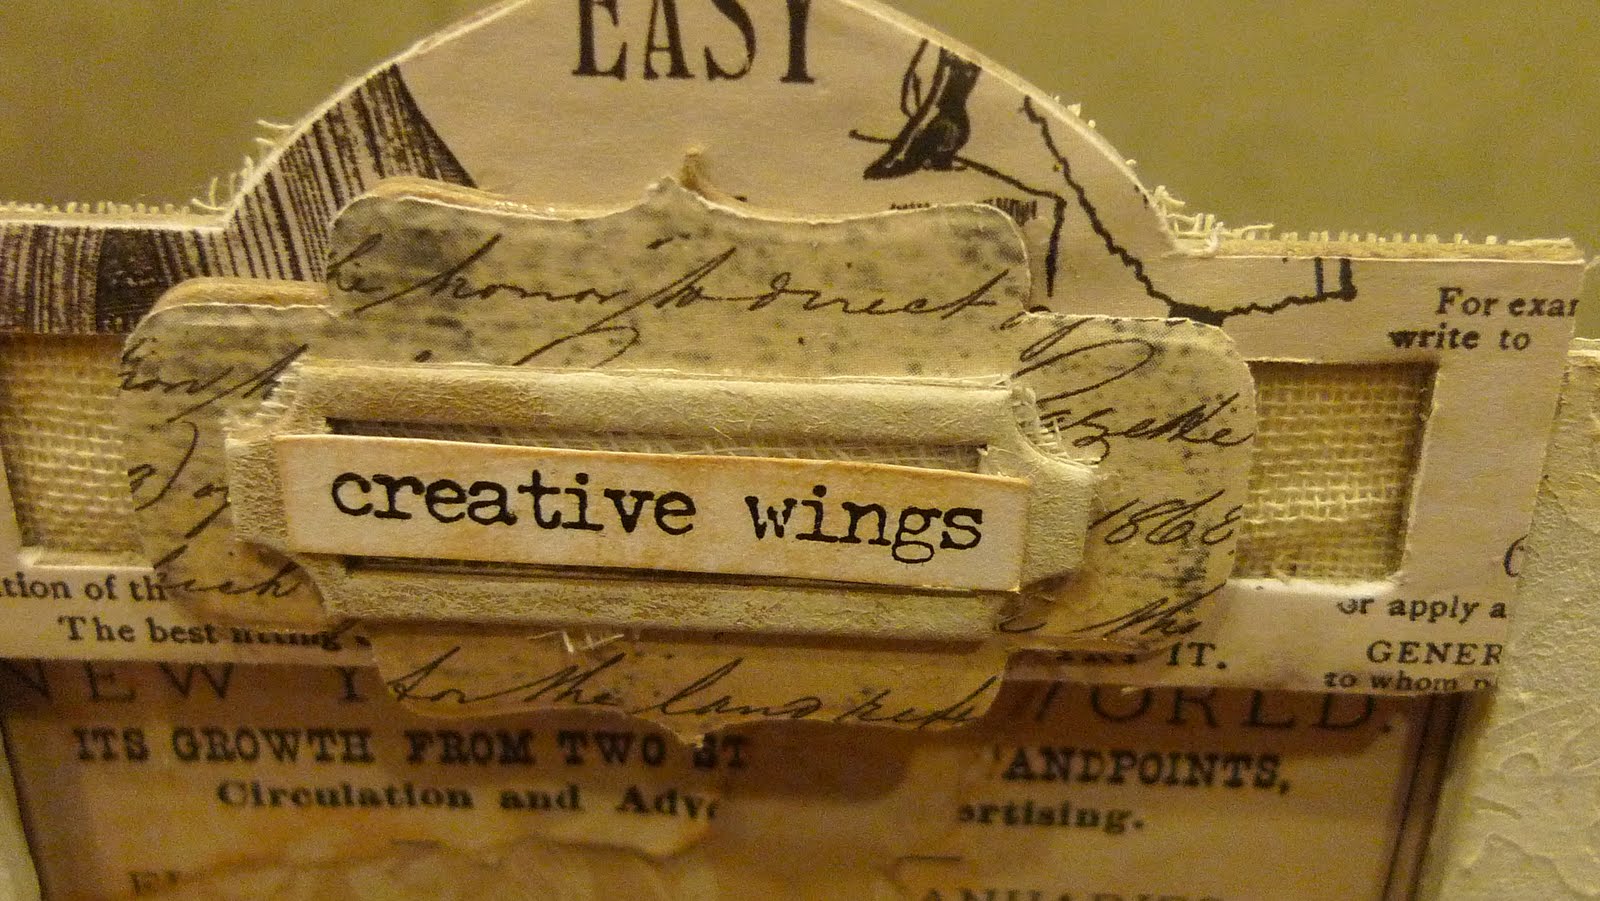
Frame C not complicated to construct. Involved painting on the fleur de lis, sanding and inking the edges, fitting a transparency to the back of the frame, covering the frame with pattern paper and adding words using the layering technique..
What a beautiful transparency from Collections Element by Julie Van Oosten.
To complete, the 3 frames were glued to the supplied joined frames, clamped till dry and viola all done!!
TRIPLE LAYERED TILE FRAME.....
This is another awesome and fine piece of art work created in Julie's class.
Don't be surprised to know that the framework were constructed with 8 pieces of cardboard cut to size, glued two together, one on top of the other and repeated with the other three sides. Next another smaller frame glued on top of the main frame for all sides again eventually making a triple layered frame sides.
The frame is painted with warm white paint, then sanded to give the aged look. To give texture to the frames, a rubber stamp is sponged with paint and stamped on top of frames making a pretty effect. Liked this technique a lot!.
A back board is glued to the frame from behind and the front covered with a beautiful pattern paper.
Next...working on the tiles, the one inch, the two inch and the three inch was exciting, creating various designs on each tile.
This three inch tile is so haberdashery influenced, covered with fabric, flat spools in pattern paper and embellished with eyelets and threads twined round. The chipboard buttons are covered with muslin and twine added.
A lovely dry brushed embossed two inch tile with a painted white key and words added on.
This is so artsy! The fleur de lis is painted and rubber stamped to get the damask look, then glued on top of the muslin which had been trimmed and inked with paint.
Three tiny mannequins covered with pattern paper and tied with linen thread glued on the two inch tile.
The one inch tiles are quite simple to create, they were just covered with pattern paper or muslin and embellished with some German scrap or a letter added on.
A large painted and distressed flourish with some linen thread and muslin tied around the center piece are then glued onto the main frame. More words added to tell a story.
At last, a gorgeous white vintage frame with a number of beautiful tiles were created and I simply adore it, don't you?
For remembrance a few pics were taken with Julie and fellow scrappers.....
Julie and me.......................
A great 2 days Art Retreat, though very exhausted by the end of the second day but very fulfilling and satisfying indeed. A word of thanks to Julie and not forgetting Sharon of ScrappingVille!
HAPPY CREATING